Speed uv-mapping in Cinema 4D

Comment

Speed uv-mapping in Cinema 4D


In this tutorial I show my main workflow for UV-mapping or UV-unwrapping. This is for you who need to fix a ready made model with out or bad UVs.

To show the versatility of the technique I unwrap two different models, one box shaped model and one curve shaped model.

But the real speed trick is to set up your startup layout ready for unwrapping.

Since these are two models form the internet I don't really know how they are made. I have to fix bad normals, remove triangles, get weird flipped polygons, do some simple model fixing with pentool, untriangulate the mesh and then do the UV-mapping. I also get messages that says the model has bad polygons and more.

For the UV-mapping I often us the box algorithm. If that doesn't work I use frontal projection. For curved models it's best to cut the models in different parts by selecting the edge. I then use frontal and then I unwrap/relax the UV.


Comment

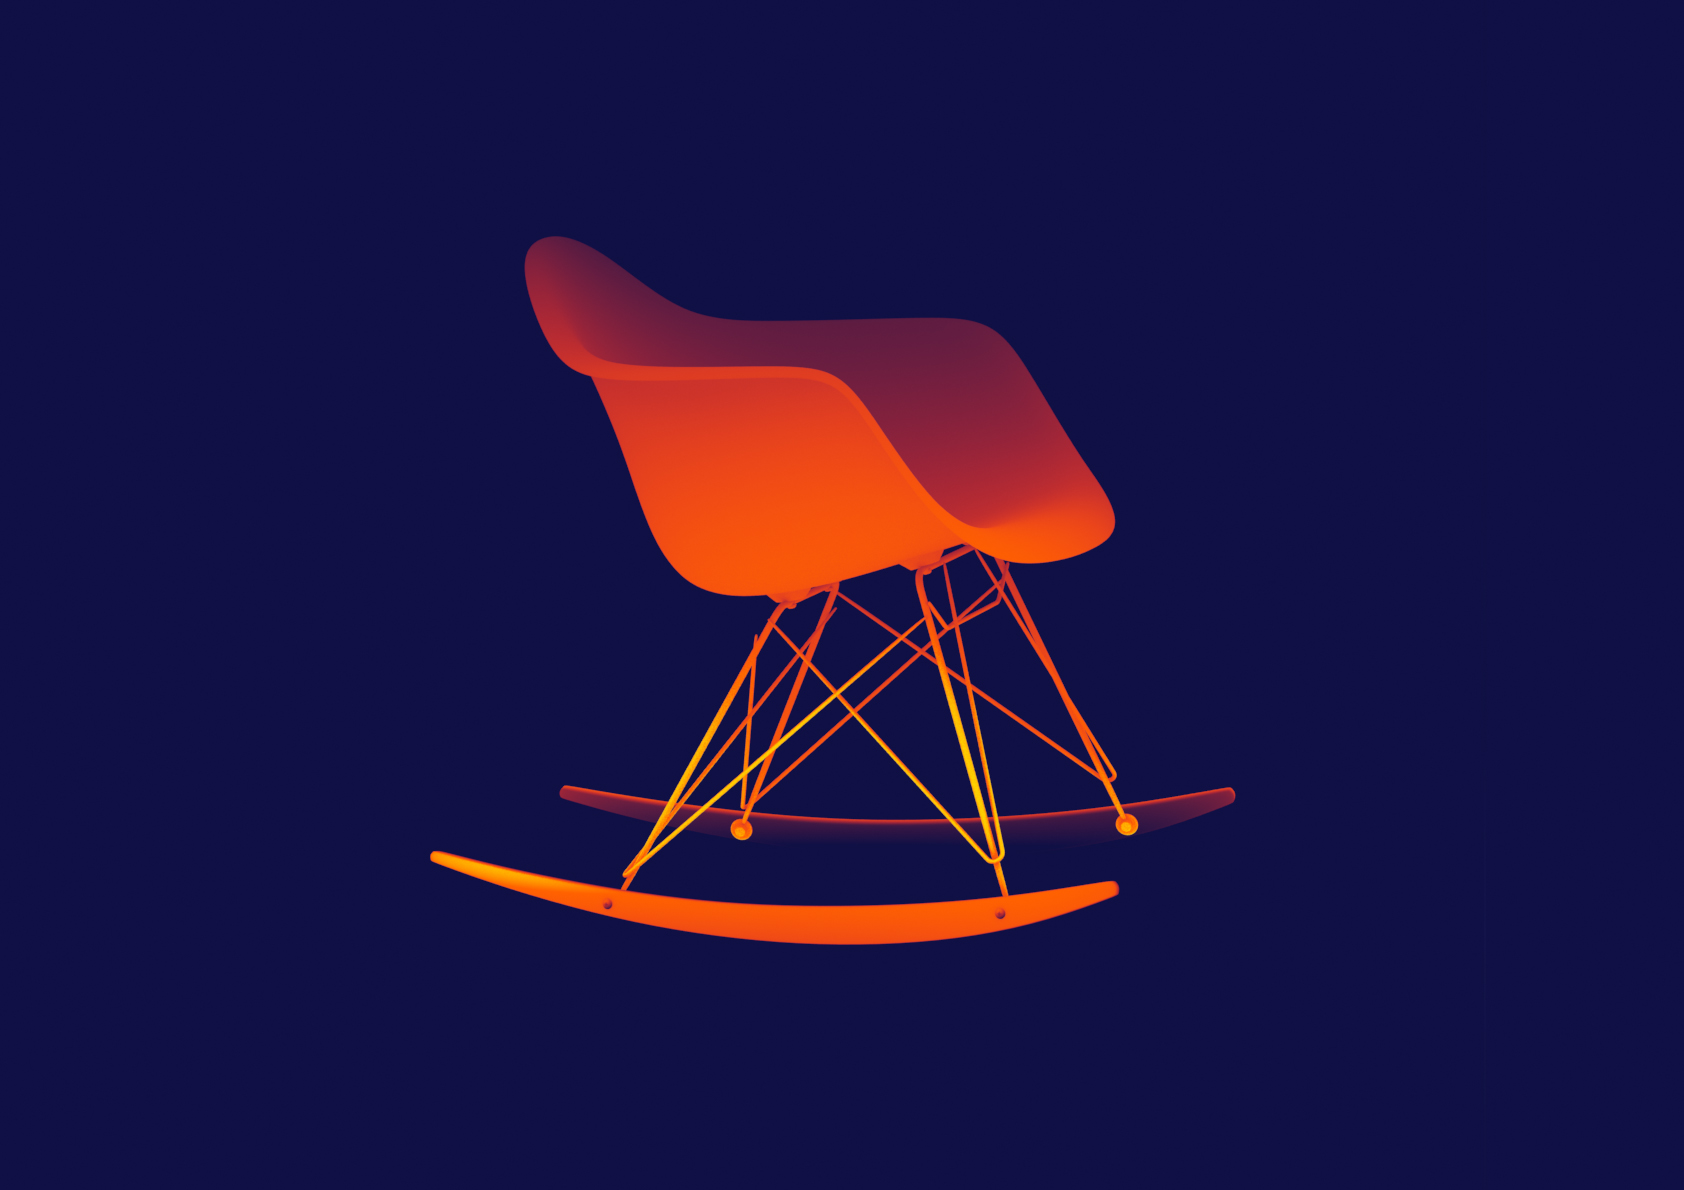
Arnold Render Utility Shader as an illustrative tool

Comment

Arnold Render Utility Shader as an illustrative tool


In this tutorial I show the utility shader in Arnold Render. It gives opportunity to create looks that aren't possible with the native render engine in Cinema 4d. Hope this gives you new inspiration to explore new looks and styles.

If you have a material suggestion, write it in the comments :)

Cinema 4D https://www.maxon.net/en/
Arnold Render https://www.solidangle.com/
Anders Langlands http://www.anderslanglands.com/alshad...

In this tutorial I show the utility shader in Arnold Render. It gives opportunity to create looks that aren't possible with the native render engine in Cinema 4d. Hope this gives you new inspiration to explore new looks and styles.


Comment

Arnold Ice Material Tutorial  - Using Cinema 4d, Arnold Render, B2M & Photoshop - Texture02

2 Comments

Arnold Ice Material Tutorial - Using Cinema 4d, Arnold Render, B2M & Photoshop - Texture02


In this tutorial I show how to create an ice material for Arnold Render. In photoshop I make the material base based on a picture. It's made square and seamless for ease of use. Then processed in Bitmap2Material to create different texture maps. Then mixed together in Arnold Render.

In this tutorial I show how to create an ice material for Arnold Render. In photoshop I make the material base based on a picture. It's made square and seamless for ease of use. Then processed in Bitmap2Material to create different texture maps. Then mixed together in Arnold Render.

This is a little more advanced then the first material tutorial, and hope you like it.

Cinema 4D
Arnold Render
Anders Langalands
Bitmap2Material
Photoshop


2 Comments

From vacation photo to unity scene

Comment

From vacation photo to unity scene


Internet is a lovely invention.

A guy named Cory Farris has found one of my picture on Unsplash and turned it into a Unity Scene.

For the uninitiated, Unity is a system to create games. So my random vacation photo is now possible to walk around in a game like environment.

He has written a Linkedin post that goes deeper into the process of recreating the room.

 
Furillen Gotland

Furillen Gotland

Cory Farris

Cory Farris Untiy scene

Cory Farris Untiy scene

Comment

Lottie - The new way of doing web and app animation

Comment

Lottie - The new way of doing web and app animation


Sometimes you get to try a technique that changes the way you ser new possibilities.

This time it's Lottie. A converter tool created by Airbnb. Yes, that Airbnb.

You can create your animations in After Effects, and by keeping it to simple shapes, masks and keyframes for the animation (no effects supported).

It uses the Json creator tool called Bodymovin that are pluged into After Effects, and Lottie is on the other end handling the app part.

I used it on the Vibble app opening animation. A simple logo reveal for the easy DJing app.

The system have some huge limitations that I've came across . Like inverted mask. That's a no go.
In the logo reveal case I needed subtracting forms, but that didn't work, and I ended making tinytiny bridges that connects the different part, and create one single form. This isn't noticeable for the viewer, but adds an extra step to the process. If possible use layered shapes that are overlapping with it's own fill.

So it's early days, but it's new possibilities on the horizon. And the file sizes are tiiiiny. Like 9 kb for this animation. 

You can get the Vibble app in the iOS app store.

I created this short and sweet logo reveal for the Vibble app, an app that simplify DJing


Comment

The mobile phone is out of coverage

Comment

The mobile phone is out of coverage


I really like video essays. Stories from for instance the Nerdwriter, Vox, Every frame a Painting & more. They explain different phenomenon's in bite size length, that can grab you and make you think about the content.

In this video Beyond the Frame, a new essayist I've come across, he talk about a film making subject that seems to be a hurdle for many screen writers: how to deal with the mobile phone in the story? The smartphone often breaks down, out of coverage or other obstructions that remove the tool we more or less use every day, staring at all the time (anecdotal but probably true for most), remove it out of the story.

I just saw La la Land and most of the problems could be solved by just simple mobile communication, just send a text or similar. Maybe a bit boring, but more realistic. But removing the smartphone can be seen as a missed opportunity.

I'm fascinated by economy in storytelling so this one scene from Better Things struck a chord with me. Pamela Adlon managed to tell plenty with a simple variation of three shots. This was the starting point for an investigation of how she did it, why it worked and what does it mean in the current panorama of film and TV.


Comment

Leather Material Tutorial

Comment

Leather Material Tutorial


As the title says, in this leather material tutorial I show my main method of creating materials. In photoshop I make the material base based on a picture. Sometimes from the web or a picture I've taken. It's made square and seamless for ease of use.

After a couple of larger updates by Arnold Renderer some parts of the tutorial is now old and not up to date. Anders Langlands addon to Arnold is deprecated and not possible to use anymore. But many of the principles is still possible to use, and that’s why I do not remove this tutorial form Youtube. Thank you for your understanding :)

As the title says, in this leather material tutorial I show my main method of creating materials. In Photoshop I make the material base often from an image. Sometimes I find this image on the web or a I take my own picture. It's made into a square and then made seamless for ease of use in 3D. Then processed it in Bitmap2Material or Materialize (only on windows) to create different texture maps. Then mixed together in Arnold Render.

Cinema 4D
Arnold Render
Anders Langlands
Bitmap2Material
Materialize
Photoshop


Comment

Arnold + X-Particles part02

Comment

Arnold + X-Particles part02


In this second part I show you how you can change color on collision. This technique can be used in many different ways where you need to go from one particle group to the other.


Comment